The best way to Care for a Toyon Tree

Heteromeles arbutifolia, identified as Christmas berry tonyon or California holly, does occur normally inside the chaparral and oak. It’s often regarded a shrub but has the potential to grow right into a tree that was little. Gardeners through the state include toyon to low-water, or xeric, landscaping because of its leathery, dark-green foliage and red berry clusters, as well as for its normal tolerance for drought problems. Toyon needs little care nevertheless, it has to be supplied with growing problems that are ideal to endure and prosper. Large shade and draining soil ultimately trigger the plant to succumb to disease.

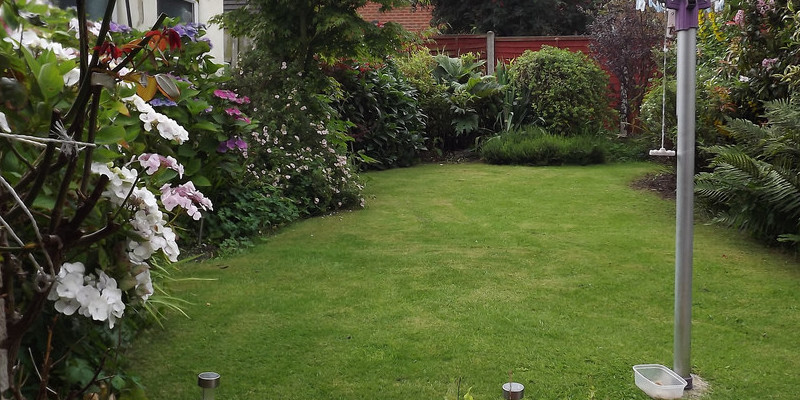
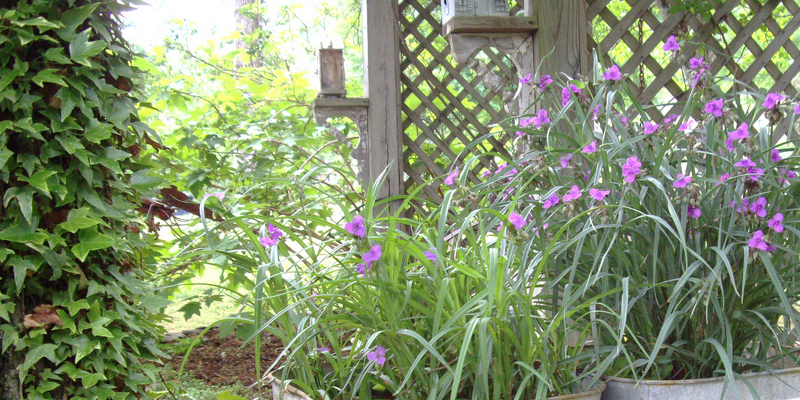
Grow toyon on a sloping or hill-side mattress to supply sufficient drainage. Select a website with large, gentle shade in hotter inland locations or full sun in coastal locations. Avoid heavily-shaded places or bottomlands where huge shower is collected following by rain.

Amend the developing website to your depth of 20 inches with a 3 inch- layer of pea- gravel as well as a 4 inch- layer of oak leaf compost to enhance acidity and the drainage of the soil. Work the amendments to the mattress utilizing a fork that is cultivating till they’re evenly distributed through the soil that is native.

Plant the toyon in a hole that’s to the first nursery container of equivalent quantity. So the foot of the trunk is 1/4 to 1/2 inch above the the top of surrounding soil settle the root ball to the hole Water across the bottom of the toyon to to be in it in the hole.

Water the toyon into a depth of 2″ every 10 to 15 times for its first two summers. Cease watering in early autumn three to one month prior to the rain. Cease all water when the plant is is set up except under severe drought conditions, where case it must be provided by you with 1-inch of water every 10 to 15 times.

Prune toyon shrubs to eliminate suckering dead and progress wood. Snip branches or the suckers a-T their point-of origin using pruning shears. Coppice shrubs in spring, or hard prune every couple of years to rejuvenate their progress and motivate a bushier, mo-Re more appealing shape. To do this, take off all growth a T floor level utilizing a pruning observed. Water the shrub after pruning.

Watch for indications of fire or mildew b Light if expanding toyon in a moist region. Look for tan or gentle reddish brown fluid oozing on the undersides of the leaves from your twigs in springtime or gray-ish powder. Both maladies are preventable by perhaps not spraying water and by cautiously pruning lifeless development a-way. Treat mildew using a liberal application of OF JUST ONE teaspoon of dish soap diluted in 1-gallon of water. Fire blight by reducing the complete shrub straight back to walk out.

See related

The best way to Care for a Sweet Plum Bonsai

Sweet plum (Sageretia theezans), a favored among bonsai lovers, arises from from China and has distinctive shiny leaves that are less than 3/4 inch-long. Like the majority of bonsai, its favored development website is in a pot with soil that is specific. The tree thrives in reasonably warm climates and needs reasonable protection from chilly. The need for safety makes it essential to seek out an appropriate place for the tree, usually indoors in zones that are great. Care for the plum bonsai maintaining a suitable level of humidity and supplying sufficient water.

Line the bottom of a pot with wire-mesh. Ensure that you use a pot that are at least the depth of the bonsai trunk and has a hole in the bottom and broad enough to to suit the roots easily.

Create a soil combination with two parts, one part sphagnum moss and one part sand potting soil. Mix everything together thoroughly.

Fill the container one third of the way together with the soil combination. Do not pack the soil in seriously.

Check the plum for just about any roots that are wilting or dead, and trim off any identified with pruners. Place the plum bonsai in the pot, and fill the pot together with the soil combination to just just beneath the rim.

Water the newly planted bonsai until water starts to flow in the hole. Add more soil if required, and then water.

Place the inside that is bonsai in a well-lit location that gets lots of sunlight. Avoid sunlight, and don’t plant the outside that is bonsai. The soil needs are not and particular indigenous to the Westcoast.

Water spray, and the everyday the soil with water three to four times a day. Never allow the soil dry. Continuous dampness is required by bonsai trees.

Sprinkle a slow release fertilizer in addition to the soil monthly to make sure that the nutrient needs are being satisfied.

Prune the bonsai by clipping any wilting or lifeless leaves. Tools aren’t needed; it is possible to pinch the ends of leaves or the dried.

See related

The best way to Control Wild Grapevines

Wild grape-vines therefore are known to inhabit cities at the same time and are observed in areas. The vines grow trees up and around, trying to get nearer to to the sunlight. This often results in the death of trees like cottonwood and oak, as the vine saps blocks and nutritional elements sunlight. Grape-vines that are controlling inhibits the spread of grape leaf skeletonizer bugs that thrive on the grapes that are wild migrate to vines that are cultivated. Grapevine development may be managed through use of pesticides and cutting.

Cut vines in fall and summer when the herbicide will be successful. Wear work gloves to protect your fingers. The stem of the grapevine using a pruning observed at groundlevel. Coat the floor stump.

Follow the stem over and make another cut at least three feet from ground-level. Herbicide on the cut that is new. Removing the area of of vine will help avoid re- .

Patches of vines on the floor with herbicide used to the leaves and stems. Rip the vines from the ground. With respect to the depth of the roots as well as the age of the vine, ripping out the vines might be a chore.

Remain vigilant. Routinely patrol the region to keep vine development under control.

See related

Installing Smoke Detectors

In case of a fireplace in your house, you may have just several moments to to flee to safety. Smoke detectors in your house provides you as much warning as possible to to flee your house. Your life could be saved by smoke sensors as well as the lives of your family members. Installation requires about an hour of of energy.

Determine where to mount the smoke detector. In California, state legislation requires that smoke detectors be situated outside rooms that are sleeping. For house additions and repairs of more than $1000 or properties constructed after 1992, a smoke detector should be installed in each bedroom addition at the same time as centrally in the hall way. At minimal, the Centers for Disease Control suggests putting a smoke detector on every floor for example, basement, of your house.

Use the ruler to calculate the the length between the holes at the back of of the smoke detector. On the ceiling, use the pencil to mark the area of where to drill the holes. Use the power drill to drill the holes. Wear safety goggles to guard your eyes.

Use the screwdriver to mount the smoke detector to the ceiling using. In the event the smoke detector didn’t come with screws integrated, use 2-3/4 inch screws.

Insert the 9 volt battery to the smoke detector. Close the smoke detector. Push the test button to check on the operation of the smoke detector. A beep should be made by the smoke detector.

See related

The best way to Replace Shower Warm & Cool Controls

Busy families will use the shower frequently through the day; from being switched on and off of each of the fixtures inside the shower, the warm and cool controls will obtain the most wear. As time passes, the handles’ inner parts will become so worn they will not be able to open and shut the valves, and water might leak from the shower or faucet head. By replacing the warm and cool controls, some planning is required before diving within this project to ensure water leaks are minimized throughout installation.

Turn off the water-supply valve to the house. This valve may be positioned on a guarded exterior wall region, like a patio, or inside garage or a basement. Some showers are outfitted with the individual shutoff valve inside the bath-room but this is uncommon.

Lay a medium-sized towel on the drain location of the shower. This layer will stop other components and screws from falling into the drain throughout installation. Any components which will fall downward to the drain can trigger plumbing issues that are major as time goes on.

Inspect the existing controls that are cool and warm. Some versions have a protect inside the center that denotes an “H” or “C” for the temperature. Remove these addresses using a flathead screw-driver. Underneath the addresses should be one screw for every control. If no addresses exist, examine the back side of the controls to get a screw that is noticeable.

Remove the screws by turning them counter-clockwise using a screwdriver from both warm and cool controls. Each handle design features a diverse screw configuration, like hex or a Phillips -head. Use the proper device to take it off when the screw is seen. Improper device matching together with the screw can strip its form that is outdoors, creating the screw to become trapped.

Pull the controls from the wall and spot apart.

Brush the uncovered protruding shower lines in the wall having a spiral wire brush. With time, water minerals may cause deterioration and will will establish along these lines. Use this alternative time to clean the residue from your lines to get an installation that is apparent.

Towel the lines off having a rag to eliminate any mineral dirt that has been released throughout the brushing.

Press the controls. Ensure the controls are pushed every one of the way onto the lines that are protruding.

Place a new screw onto each get a handle on. Screw and tighten the screw in to every person get a grip on with a screw-driver.

If applicable press the handles to cover the screws. Remove the towel in the drain area.

Turn in the valve on the water-supply. Turn on the shower controls and examine that every one doesn’t leak and activates the water temperature.

See related

The best way to Paint a Cinder-Block Wall

Blocks, also also referred to as blocks that are concrete, are a tough but instead industrial-seeking materials for partitions. Whether employed for an outside backyard wall or as an interior basement wall, paint offers for dressing the dull grey blocks, one answer. Concrete has a area that expels and collects moisture, which could weaken or harm the paint. Proper planning assures a straight paint program that can resist flaking and peeling.

If it was once painted remove any paint in the wall. Use a power washer to remove any paint and grime; scrub places using a wire brush. Allow the wall.

Fill in almost any cracks with the acrylic caulk. Smooth the caulk to the crack and smooth the area using a putty knife. Allow the caulk to dry. Apply another caulk if required to make the region flush with all the cinderblock that is surrounding surface filling.

Spread a dropcloth before the cinderblock wall on the floor. Tape off the floor or surfaces surrounding edges of the wall and the block wall across the bottom so paint does not drip onto them.

Paint the whole wall using a coat of primer that is concrete or a sealer. Apply an even coat using a broad paint brush. Allow it to dry for the time or for four hours.

Paint a coat of exterior latex masonry paint or exterior house paint onto the cinder blocks that are ready. Allow the first coat to dry completely, which usually requires between four and eight hours. Apply another coat following the first coat of paint is dry.

See related

The best way to Grout Small Tile

Tiles, or tiles that are mosaic, on average calculate smaller in dimensions or 2″. These tiny tiles include several grout lines, which should all be stuffed to complete the work when set together over a ground or wall. While it might appear that extra function will be made for by the grout lines in grouting smaller- tiles, the same rules apply for grouting them as tiles that are bigger. Cover the whole installation with grout to prevent missing any joints.

Mix the grout with water in a bucket. Use a trowel to scrape the edges of the bucket down to assist integrate the grout that is dry. The grout will soon be prepared when it’s the consistency of peanut-butter that is smooth to use.

Scoop up an orange-sized ball of grout on the conclusion of the float. Use the grout to the tiles. Hold the float at a 45-degree angle to the mosaics, and drag it over the installation to perform the grout between the tiles. From left to right, all the way through and after that diagonally through the installation to make sure that each of the joints are stuffed move the float.

Hold nearer to to 90-degrees to the installation to the float and start scraping a few of the extra grout off. Scrape that is packed involving the tiles, and perhaps not the grout so that the grout on the the top of tiles is eliminated. Let the grout dry for about 10 minutes.

Dampen a sponge off the mosaics using a circular movement together with the sponge and clear the grout. Stop to rinse the sponge out often to ensure it stays clear and avoids spreading the grout. Let the installation dry to get a minimum of 2-4 hrs.

See related