Inject some Moroccan flavor into your house this spring — plane tickets and passports not mandatory! Architectural arches, lattice wall prints and gorgeous detailing on tumblers, tagines and tables are up for grabs. This style is among the season’s latest trends. It is infinitely approachable and impossibly chic. — Lani from Mon Petit Chou Chou
Laura U, Inc..
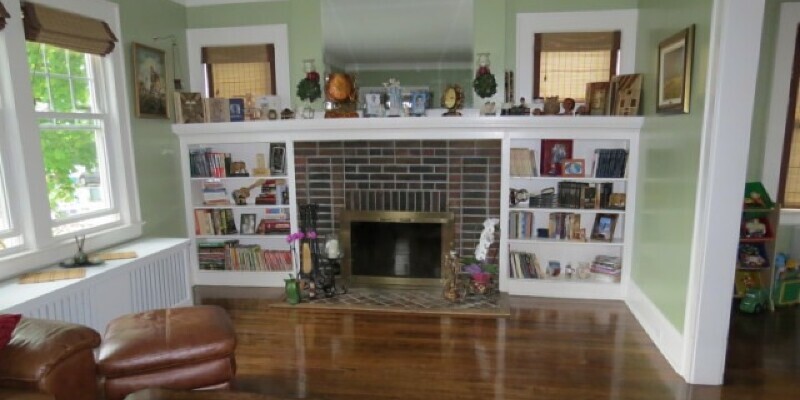
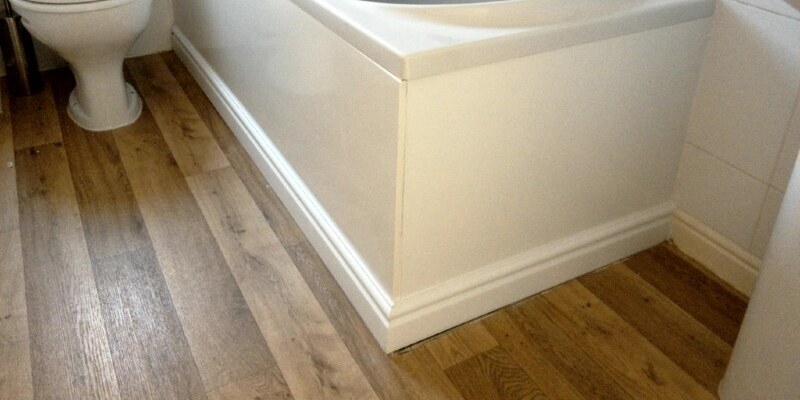
The geometric cutouts and accents are such a creative way to dress up a boring bookshelf. Insert a few burnished lamps, et voilà!
Pearson
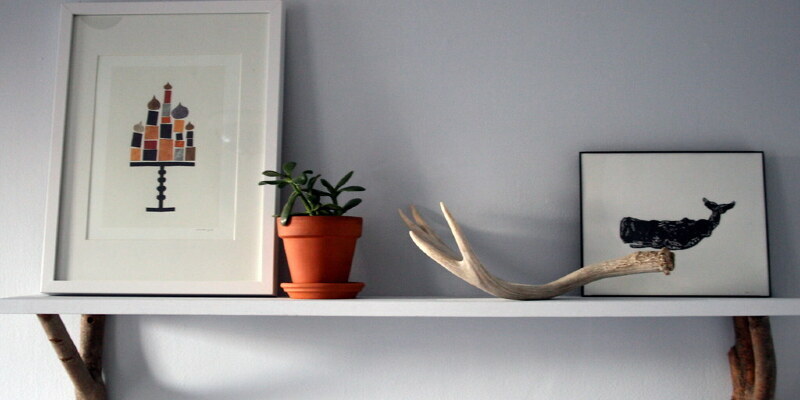
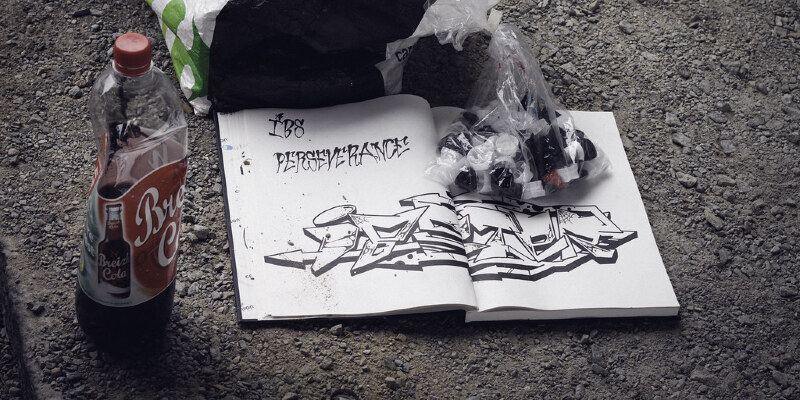
Pearson Ottoman
Quirky, adorable and walking on the line somewhere between traditional and modern, this ottoman by Pearson will be a welcome addition to my living room.
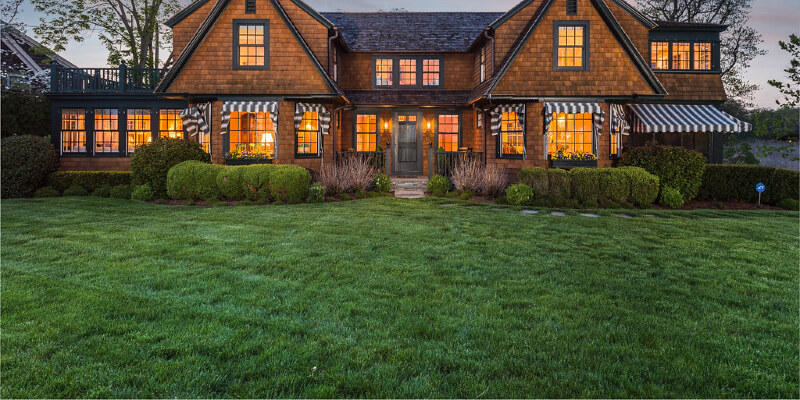
Maya Inlay Mirror White – $695
This inlay mirror is more ornate but totally impartial, a tough combination to reach. How perfect would it be hanging in an entryway? It provides guests a opportunity to primp prior to their trip.
Williams-Sonoma
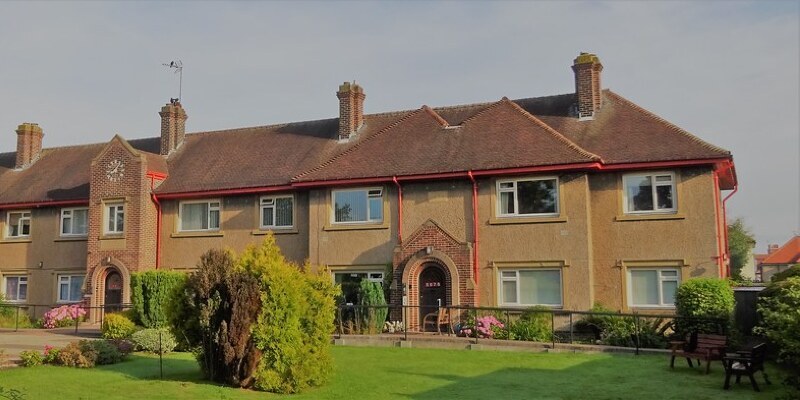
Tunisian Hand-Painted Mosaic Tagine – $49.95
Picture functional and perfect, this Tunisian hand-painted tagine out of Williams-Sonoma is too pretty to lock at a cupboard. Put it on some open shelving.
Horchow
Moroccan Style Tea Glasses – Set of Four – $60
These tumblers are really fun with wine. Don’t relegate the vino into stemware; it’s perfectly at home in ornate glasses such as these.
Tan Moroccan Leather Pouf – $450
Poufs are definitely with a moment. This leather version from Serena & Lily is handmade in Morocco and well worth the investment.
Justmorocco
Orange Mekissa Bench Place – $2,700
The deep tangerine Mekissa couch is ornamented with patterned fabric and finished with wooden silver and carved Moorish artwork. It is a luxe patio topper for hot summer nights around the fire pit.
Williams-Sonoma
Morocco Tile Salad Plates
I love these richly textured Moroccan tile salad dishes. They would be gorgeous for wine and cheese. I have a similar version that I endlessly use when entertaining.
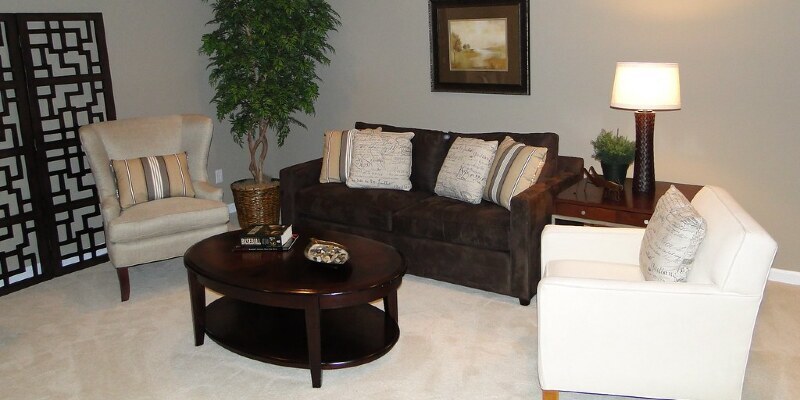
Lucy Interior Design
Minimalist Moroccan does exist! This neutral area is cranked up a notch with vibrant squares and an inspired napping window.
Pottery Barn
Moroccan Tray Table – $399
I picked up a brass version of a tray table at Brimfield this past year. Forget the searching, Pottery Barn has done the job for you with their Moroccan tray table.
Gilt
Lola Sofa, Turquoise – $9,090
Boring, this couch is not! It is filled with pizzazz and style. I’d love a vibrant accent such as this in my den.
Pottery Barn
Moroccan Pendant – $99
Moroccan lighting is a superb way to inject some exotic style into your space. I’d personally string some of these in a reading nook to create a comfy corner.
West Elm
Morocco Headboard, White Lacquer – $399
Inspired by nautical Moroccan patterns, this headboard out of West Elm makes a neutral and attention-grabbing appearance.
Horchow
‘Floating Arabesque’ Side Table – $499
Horchow’s Floating Arabesque side table is discreet, hovering along with your couch or bedside. It is ideal for any space.
Horchow
‘Morocco Tile’ Throws – $195
Entirely noncommittal and fun, these vibrant throws have a fantastic print and are an effortless way to test drive the fashion.
Anthropologie
Kasbah Coffee Table – $998
I could build a complete living space around this Kasbah java table from Anthropologie. Whitewashed and rustic, it appears like it was hand-plucked out of a street bazaar.
Anthropologie
Embroidered Fesi Pillow – $148
These embroidered cushions are crafted by Mushmina, a business that uses over 75 fair-trade artisans in Northern Africa. Inspired by Moroccan motifs, these cushions are begging to be tossed on my sofa.
Casbah Decor
Sharafa Door – $4,200
This really is a swoon-worthy announcement piece. Handmade cedar-inlaid doors directly from Marrakech could make for a dramatic entry into any space, or they may be dividers if mounted on sliders, or perhaps artwork if mounted on the wall.
First Mission Tile
Marrakech Moroccan Cement Tiles
I debated using a daring print tile such as this in my kitchen. It is such a crazy dose of pattern to possess underfoot.
First Mission Tile
Fes Moroccan Cement Tiles
Ultimately, I decided the tiles could be a lot, however they’d have made for a fabulous backsplash in retrospect.
Carson Poetzl, Inc..
Moroccan details abound from floor to ceiling in this luxe lounge. The blue color of the wall is surprising but well balances the gilt finishes and ornate paint.
Anthropologie
Hattane Curves Rug – $920
This carpet, referred to as a boucharouette or rag rug, was inspired by an ancient cosmetic technique. It uses recycled fabric pieces that are hand-woven to a one-of-a-kind piece that is perfect for your property.
Bernhardt
Organic Modern Coffee Table
How cool is this table? It is organic and wrapped completely in hyacinth. The design and design legs are a really modern spin on Moroccan themes.
Berber
Menzah Chandelier – $698
The Menzah chandelier is a rainbow of colour and etched cast brass. The crown-like shape makes for a regal statement that will go with any color scheme.
A Curated World by Kay McGowan
Linen Pillow Cover Sofia – $188
Made by La Maison Bahira at Marrakech, these embroidered pillow covers are completely stitched by hand. This coral red would be perfect on my bed — I may want to pick these up for myself!
Amazon
Candice Olson Dimensional Surfaces Moroccan Lattice Sand Wallpaper, Charcoal – $219.84
The cool grey foundation of the Moroccan lattice background would work nicely in a washroom. I have done a similar colour scheme in my downstairs powder room, and it plays very nicely with white, black and silver finishes.
Etsy
Wall Stencil, Moroccan Allower design by OMG Stencils – $30
Or you can create the exact same appearance using a weathered wall stencil. And you’ll be able to choose your own colours — the ultimate in custom wall decor.
A Curated World by Kay McGowan
Wool Pom-Pom Blanket – $385
These pom-pom wool blankets were made by Chez les Freres Kassri, a generational design small business. I’d love to use one of them as a bedspread, and then fold it down in the day to assemble the pom-poms.
Next: Book to Know: Marrakesh By Design
See related